
PHONITURA / ARTICLE
RT60 calculator: plan reverberation control without compromising design
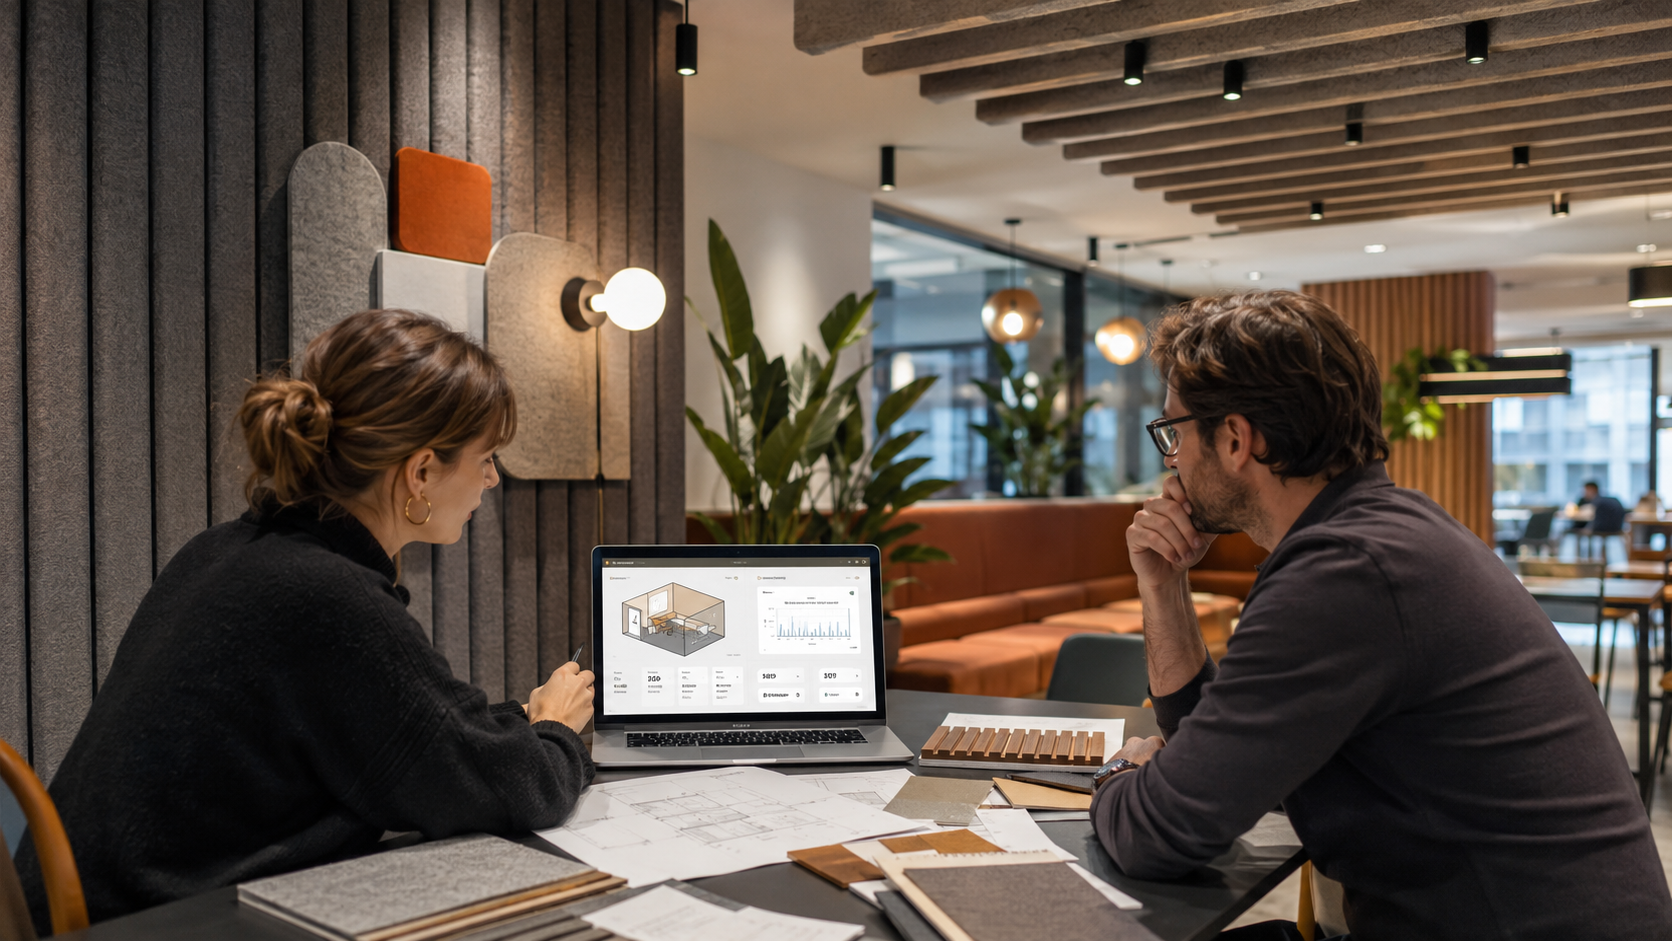
Start with an indicative reverberation estimate
The Phonitura RT60 calculator provides a preliminary estimate of reverberation time. It uses room dimensions, a room type and an assumed average absorption to help start an acoustic design discussion.
Use the result to consider reflected sound within a room. Noise arriving through walls, floors or ceilings is a separate building-acoustics issue.
Bring acoustics into the design brief
While the layout and finishes are flexible, the design team can reserve areas for absorption and coordinate them with lighting and furniture.
Common reasons to assess reverberation include:
- restaurant guests have to speak over the surrounding noise;
- overlapping voices in an open-plan office;
- speech sounds hollow and loses clarity in a meeting room;
- even an ordinary conversation produces noticeable echo in a spacious lobby;
- students seated further away struggle to hear the teacher.
An early estimate gives the team a starting point. A project assessment is still needed to establish the appropriate target, product configuration and placement.
A useful first indicator is RT60.
What does RT60 measure?
RT60 describes the time for a room’s sound level to decay by 60 dB under stated conditions. It is expressed in seconds; a calculated estimate and a measured result are different forms of evidence.
The appropriate reverberation time depends on the room’s use. Review the target for the project rather than assuming one value suits every space.
A preliminary calculation needs dimensions and an estimate of the absorption provided by the room’s surfaces.
The Phonitura tool brings those inputs into a simplified Sabine calculation.
Inputs and outputs
The calculator estimates reverberation and additional absorption relative to its selected planning target. It does not establish a final product quantity.
Enter:
- the length, width and height of the space;
- an assumed average absorption for the existing surfaces;
- the intended use of the room.
The estimate draws on:
- room volume;
- surface areas;
- the assumed and target absorption;
- estimated reverberation time;
- indicative additional absorption.
The calculation relies on simplified geometry and average absorption. Review those assumptions before using the result to develop a specification.
It helps frame a practical question:
How much additional absorption should the project team assess?
Keep a record of the room dimensions, selected room type and absorption assumption.
From an estimate to a design scheme
Use the output to explore where acoustic treatment could fit the room.
The calculator does not select products or determine their arrangement. Each product’s acoustic contribution depends on its tested configuration and mounting.
Potential treatment types include:
- wall or ceiling panels;
- suspended baffles;
- acoustic luminaires;
- compositions made from geometric elements;
- decorative partitions;
- parametric structures;
- material integrated into furniture;
- acoustic artwork or bespoke installations.
Explore Phonitura panels, baffles, suspended forms, acoustic lighting and partitions. Bespoke elements can be discussed from drawings where the project calls for a particular geometry.
Translate the initial acoustic requirement into a coordinated layout, then review the products and installation details.
Equivalent absorption and physical area
Additional equivalent absorption area is an acoustic quantity. It should not be read as the face area of felt that must be purchased.
Different products and mounting arrangements contribute different amounts of absorption. A scheme may combine:
- part of it can be placed on the ceiling;
- part can become a wall composition;
- acoustic luminaires can be positioned above workstations;
- partitions can be added between functional zones;
- a suspended structure can be installed above the busiest part of the room.
The project assessment connects the required absorption with the selected products, quantities and mounting arrangements.
The visual arrangement can respond to the interior: linear elements for a restrained ceiling, a sculptural pendant above a dining area or a panel composition on a feature wall.
Compare each option using the acoustic information that applies to its actual configuration.
Use the estimate to ask better questions
Appearance alone does not establish whether a treatment scheme provides enough absorption. Product coverage and position need an acoustic basis.
A preliminary estimate can help:
- identify whether reverberation needs closer assessment;
- reserve treatment areas early;
- allows the available installation area to be assessed;
- develop an initial acoustic layout;
- define the next specification step;
- helps explain and justify the solution to the client.
Use the estimate as a design input and record the assumptions behind it.
The final acoustic and installation review should follow once the products and configuration are known.
Compare planning assumptions
The tool can show how a simplified estimate changes as its inputs change.
For example, compare:
- different average absorption assumptions;
- different room dimensions;
- a change in ceiling height;
- the selected planning room type;
- how significant the difference is between the current and target RT60 values.
Discuss these comparisons alongside the layout and finishes, while keeping their limitations explicit.
Early discussion helps the design team coordinate available treatment areas with the interior concept.
A preliminary calculation does not replace a full acoustic design
The simplified Sabine estimate does not describe every reflection or local listening condition. Furniture, occupancy, room shape and the distribution of treatment can affect the result.
Use an acoustic specialist for complex geometry or formal performance requirements. Share the room information and calculation assumptions with Phonitura when discussing suitable products.
The first estimate helps identify the next question; it does not certify the room or guarantee the finished outcome.
Develop the acoustic design alongside the interior
A room should support the conversation and activity it is intended for. Include its acoustic requirements alongside the visual and lighting brief.
Use the calculator to discuss an indicative absorption requirement, then connect that requirement to the tested products and their placement.
Coordinate the treatment’s form, finish and function.
Phonitura can help explore product options and prepare the specification discussion around the design concept.
Estimate the room’s RT60, record the assumptions and send the room plan to discuss the next assessment step.